How to install and running Cloudera Docker Container on Ubuntu
This tutorial will show how to install and configure version 5.7.0 of Cloudera Distribution Hadoop (CDH 5) on the Ubuntu 16.04 host using Docker.
What’s CDH?
CDH (Cloudera’s Distribution Including Apache Hadoop) is the most complete, tested, and widely deployed distribution of Apache Hadoop. CDH is 100% open source and is the only Hadoop solution to offer batch processing, interactive SQL and interactive search as well as enterprise-grade continuous availability. More enterprises have downloaded CDH than all other distributions combined.
Why Docker?
Getting down to the nuts and bolts, Docker allows applications to be isolated into containers with instructions for exactly what they need to survive that can be easily ported from machine to machine. Virtual machines also allow the exact same thing. While Docker has a more simplified structure compared to both of these, the real area where it causes disruption is resource efficiency.
Install Docker
Installing docker is very easy. The choice here is Ubuntu 16.04, so before starting the installation take into consideration the requirements then follow this guide.
Uninstall old versions
Older versions of Docker were called docker or docker-engine. If these are installed, uninstall them:
$ sudo apt-get remove docker docker-engine docker.ioThe contents of /var/lib/docker, including images, containers, volumes, and networks, are preserved. Check the content using the commands below.
$ sudo ls /var/lib/dockerInstall using the repository
Set up the repo
Update the apt package index, install packages to allow apt to use a repository over HTTPS, and add Docker’s official GPG key:
$ sudo apt-get update
$ sudo apt-get install \
    apt-transport-https \
    ca-certificates \
    curl \
    software-properties-common
$ curl -fsSL https://download.docker.com/linux/ubuntu/gpg | sudo apt-key add -
Verify that you now have the key with the fingerprint 9DC8 5822 9FC7 DD38 854A E2D8 8D81 803C 0EBF CD88, by searching for the last 8 characters of the fingerprint.
$ sudo apt-key fingerprint 0EBFCD88Use the following command to set up the stable repository. You always need a stable repository, even if you want to install builds from the edge or test repositories as well.
$ sudo add-apt-repository \
   "deb [arch=amd64] https://download.docker.com/linux/ubuntu \
   $(lsb_release -cs) \
   stable"
Install Docker CE
Update the apt package index, list the available versions in the repo, then select and install a version of Docker CE:
$ sudo apt-get update
$ apt-cache madison docker-ceInstall a specific version by its fully qualified package name, for example, docker-ce=5:18.09.0~3-0~ubuntu-xenial, and verify that Docker CE is installed correctly by running the hello-world image.
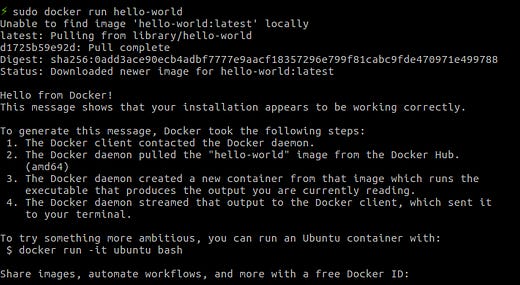
$ sudo apt-get install docker-ce=5:18.09.0~3-0~ubuntu-xenialdocker run hello-worldThe last command downloads a test image and runs it in a container. When the container runs, it prints an informational message and exits.
Importing the Cloudera QuickStart Image
Before importing the image ensure Docker is running, and type this into the terminal in the home directory /home/your_name. This will take a couple of minutes to complete because it’s a large file size so you can take a cup of tea or whatever you like.
$ docker pull cloudera/quickstart:latestThe next image is to check if everything working fine.
Running a Cloudera QuickStart Container
To run a container using the image, you must know the name or hash of the image. If you followed the instructions above, the name could be cloudera/quickstart: latest. The hash is also printed in the terminal when you import, or you can look up the hashes of all imported images with:
$ docker imagesOnce you know the name or hash of the image, you can run it:
docker run -m 4G --memory-reservation 2G --memory-swap 8G --hostname=quickstart.cloudera --privileged=true -t -i -v $(pwd):/zaid --publish-all=true -p8888 -p8088 cloudera/quickstart /usr/bin/docker-quickstartBasically, this command is telling Docker to run an image with 4GByte the maximum amount of memory the container can use, with 2GByte as a soft limit smaller than 4GByte which is activated when Docker detects contention or low memory on the host machine, and 8GByte the amount of memory this container is allowed to swap to disk. Privileged mode is required for the HBase database, with option -i means interactive, option -t meaning to open it in the terminal, and option -v allows to share volumes with the container, so anything that we put in the home directory, will show up in the Docker container under the directory /zaid. We have to change this to the directory of our files. The option — publish-all=true opens up all the host ports to the docker ports, so you can access programs like Hue in port 8888 and YARN in port 8088, and other programs.
Using the command below we can check if the deployment of the image working smoothly.
docker ps -aGetting HUE and YARN to work
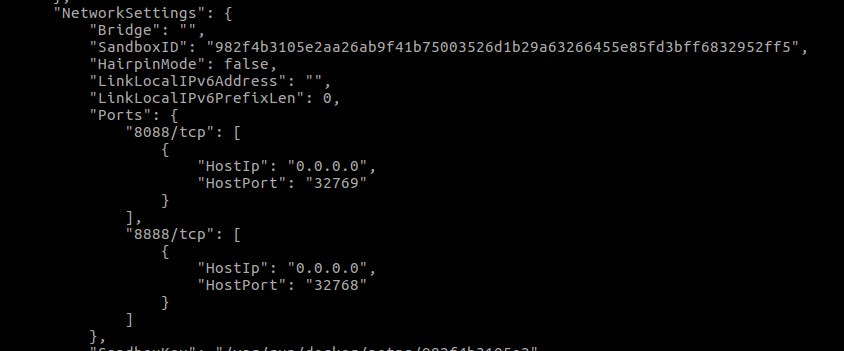
We need to check if Hue and YARN are working in our docker-machine, so we take the container ID from the information generated by the last command and we utilize these IDs with the docker inspect command.
docker inspect [CONTAINER ID]From the last image, we take into account that Hue is working on port 8888 inside the docker machine, 32768 outside the docker-machine which means on our localhost, and YARN 8088 inside, 32769 outside.
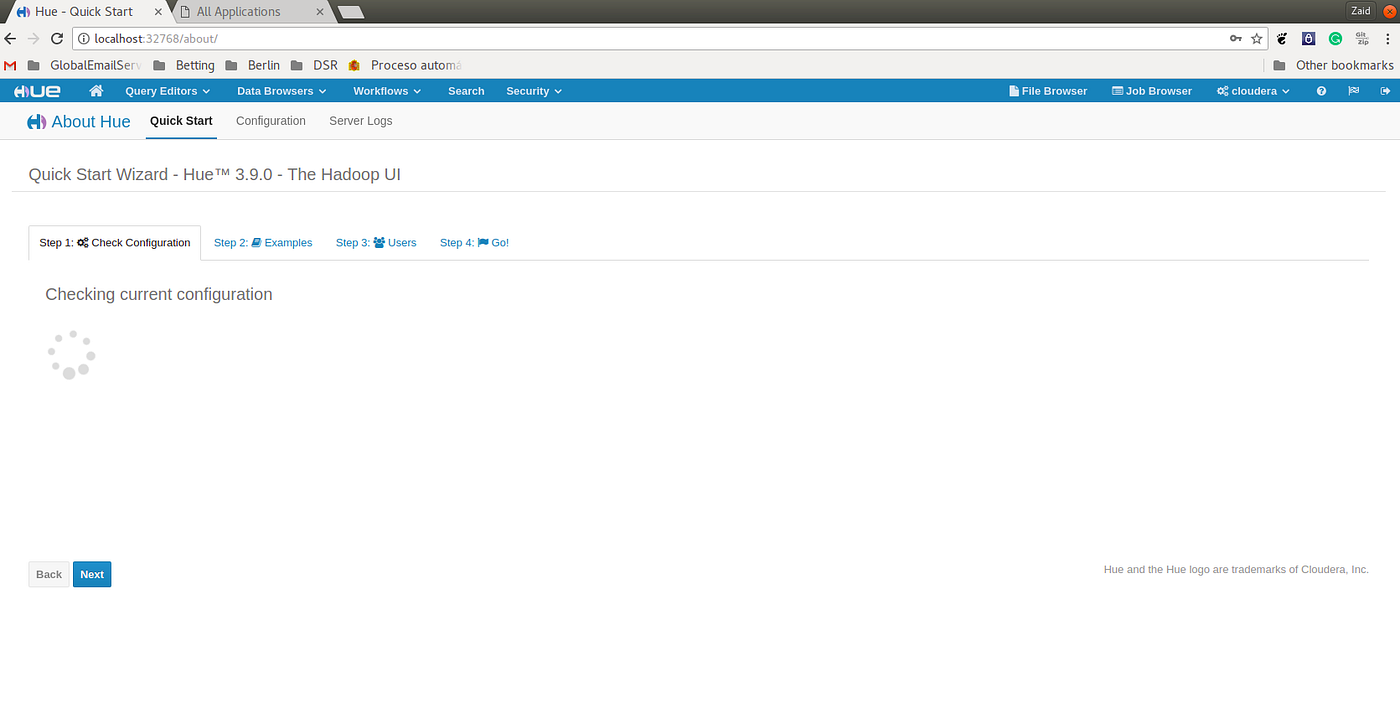
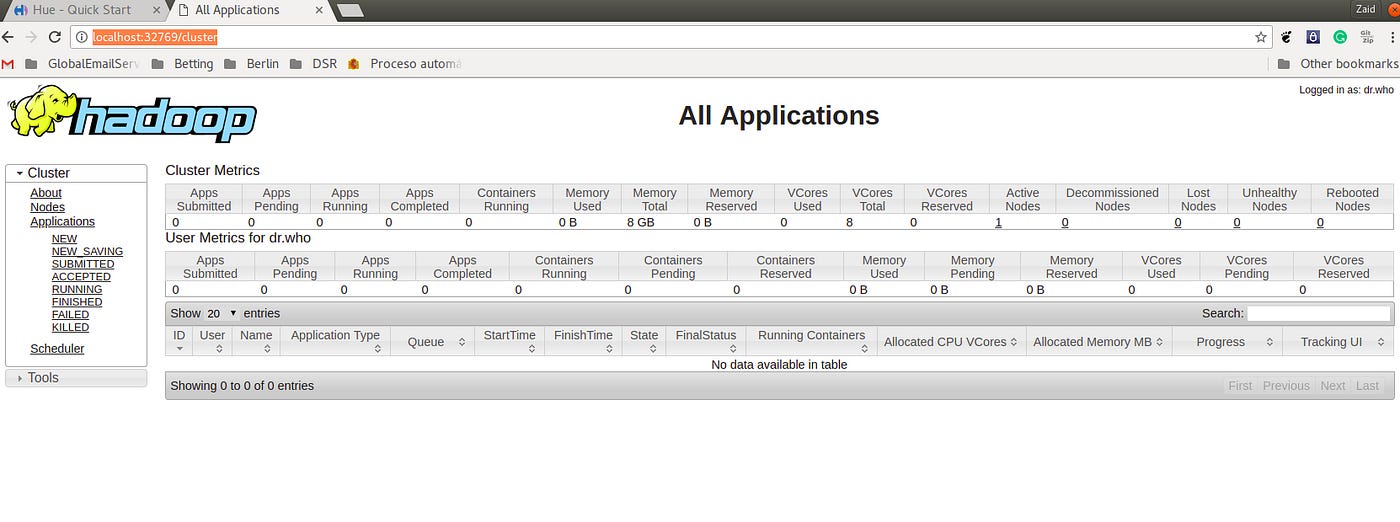
These images below are our prove that HUE and YARN working as expected, so we put this line localhost:32768 in our browser for HUE and localhost: 32769 for YARN.
HUE
YARN
Collect system information
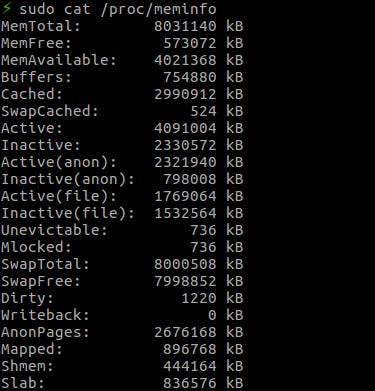
Docker CE default values are to use the system's memory. So the minimum you should use is 4GB, The laptop for this guide only has 8GB, so we allocate 4GB to docker when it’s running.
Using the command below we can check that the laptop memory is 8031140 kB.
sudo cat /proc/meminfoTo see if we are running Docker CE with the minimum configuration we use this command.
docker stats [CONTAINER ID]Once we used the last command it showed a live stream of statistics when the memory usage of Docker image is between 1.77 GBytes and 4GBytes.

